Saturday, October 23, 2021

Pouring over glass - artwork on display!

 Yes, I have become obsessed by this new (to me) art form. It's the most wonderful distraction from the world around me...and so much fun!

Here are a few more of my recent pours:

This first one... I love the shape of this vase and wanted to make it bright and distinctive. I used a bright red and blue and a dark green. As I poured I was really excited about how it looked. However, when it dried, it was very dull. Now, I know that this acrylic paint dries dull, so I thought I would just sprinkle some water on it (before I put the resin on) and see if it would brighten. It did! I loved it...until I touched it and found the paint washing off!

Not one to give up, I tried it again. Same result - it dried dull. This time I waited a few days and then put on a coat of resin. Ugh - I thought it was very dark and boring. 

Interesting, you can see all the bright colors in the drips, but the vase is really dull. My artist friends seems to like it that way. I wasn't so sure and just put it aside.  As few weeks later, I still didn't like it and started picking away at the resin. I found that I could peel it all off! 

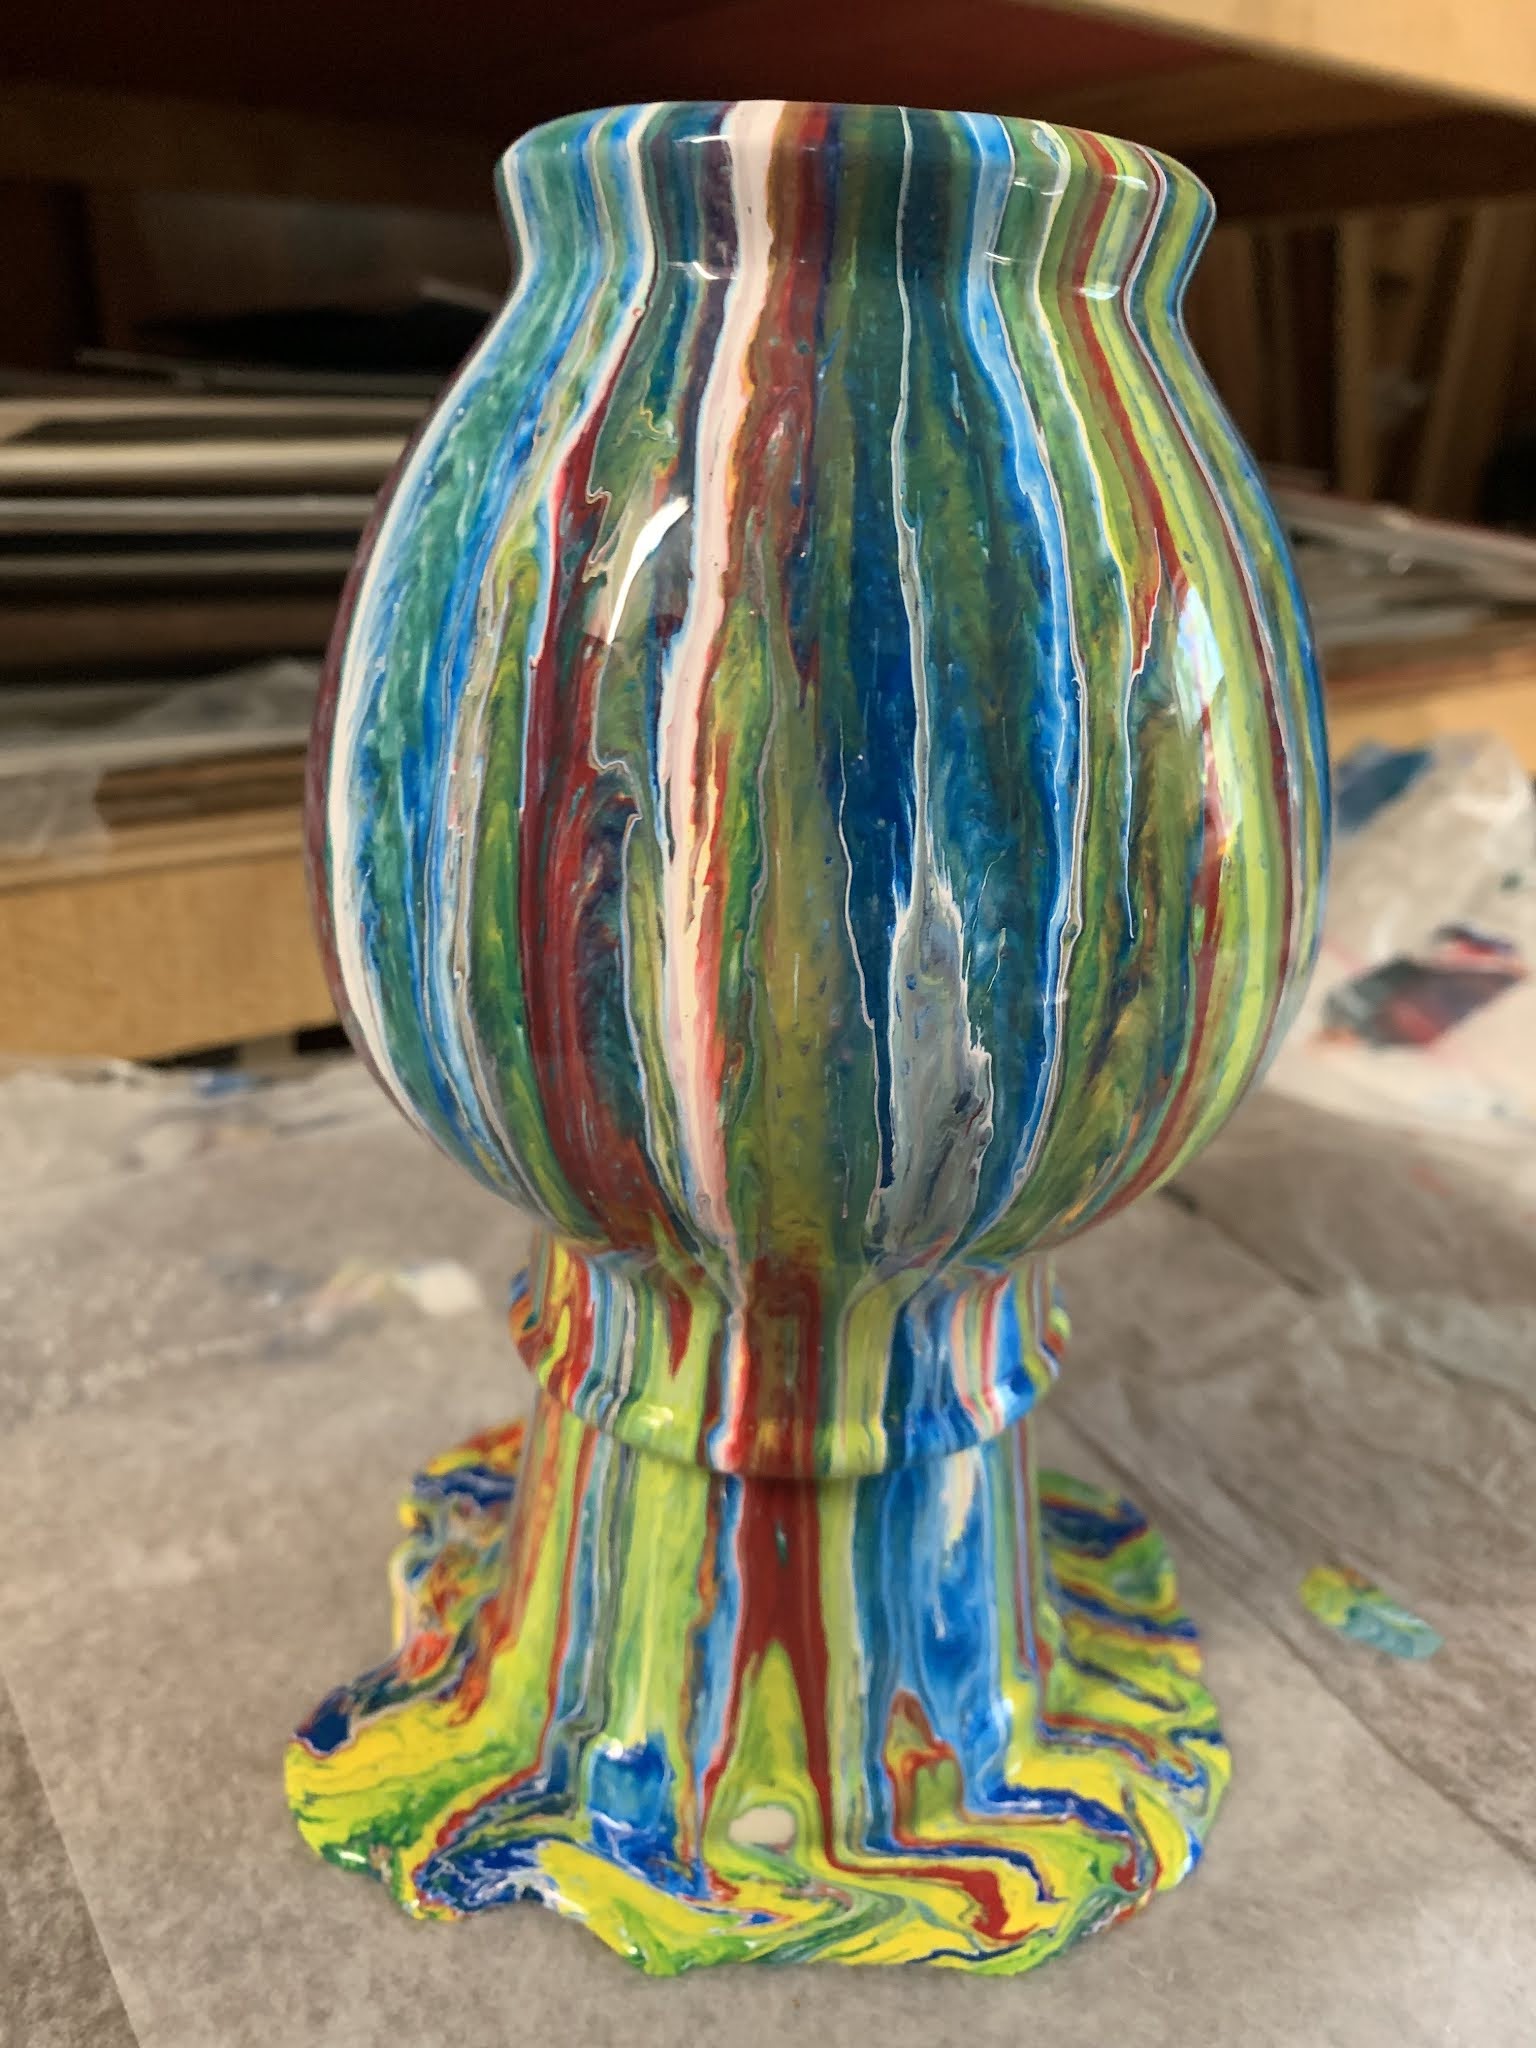
This time I left out the dark green and added white to the mix of red and blue. I alternated the three colors in a cup and began to pour.  Look at the difference!

And here is what happened on the bottom!


It looks like I had some yellow in there which I had forgotten about! 

I am excited about its new look.

Here are just a few more: these photos show the wet paint before resin...and,

I can't resist showing you some of the bottoms!


This is a Ball jar - fun!


I mentioned in my last post that I had spoken to the director of our local library about displaying these pieces of art. Yesterday, I took 22 of them and put them in the empty cases in the gallery area of the St. Michaels Library! So excited to have them out there for everyone to see. I turned some of them upside down so you could see the surprise on the bottoms! (Sorry about the reflected light in the photo. It's a sunny hallway)


They will be there - and are available for purchase - at least through the month of November! Stop by the library at 106 Fremont St. in St. Michaels.


Saturday, October 9, 2021

Pouring over glass - some more!

 As crazy as this sounds, I seem to be finding my sanity in pouring paint over glass these days! Here are a few more that I have experimented on.  

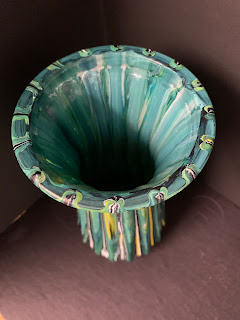
I love the shape of this vase - it's about 5"-6" tall. It was hard to find a way to turn it over so I could pour over it. I finally found a bottle that would hold it straight...but after I poured paint on it, I discovered that the lip would be sticking to the bottle. I quickly looked around my shop to see what I could use to fix this situation and found a packet of sawtooth hangers! I was able to slip several of them around the base of the pour (actually the lip of the upside down vase). It was just enough space so that the vase didn't stick to the plastic bottle!


I like the look of this one...particularly the inside.


This one is a 12" tall vase. It was a little tricky to find some way to turn it upside down and not have it fall over. I discovered that the plastic bottle that I had used before also worked for this one! Fortunately, the top of this vase (which is at the bottom of this picture) curved out so the lip of the vase wouldn't be touching the bottle this time.
This was also a little difficult because the vase was fluted and made 'hills and valleys' instead of just curved glass. I poured different colors at intervals to see where they would go. Toward the end of the pouring I put dots of white and yellow and encouraged the paint to run down in the valleys. 

Here it is right side up before putting on the resin.


It also made an interesting design on the lip.

And, I love the surprise that showed up on the bottom!


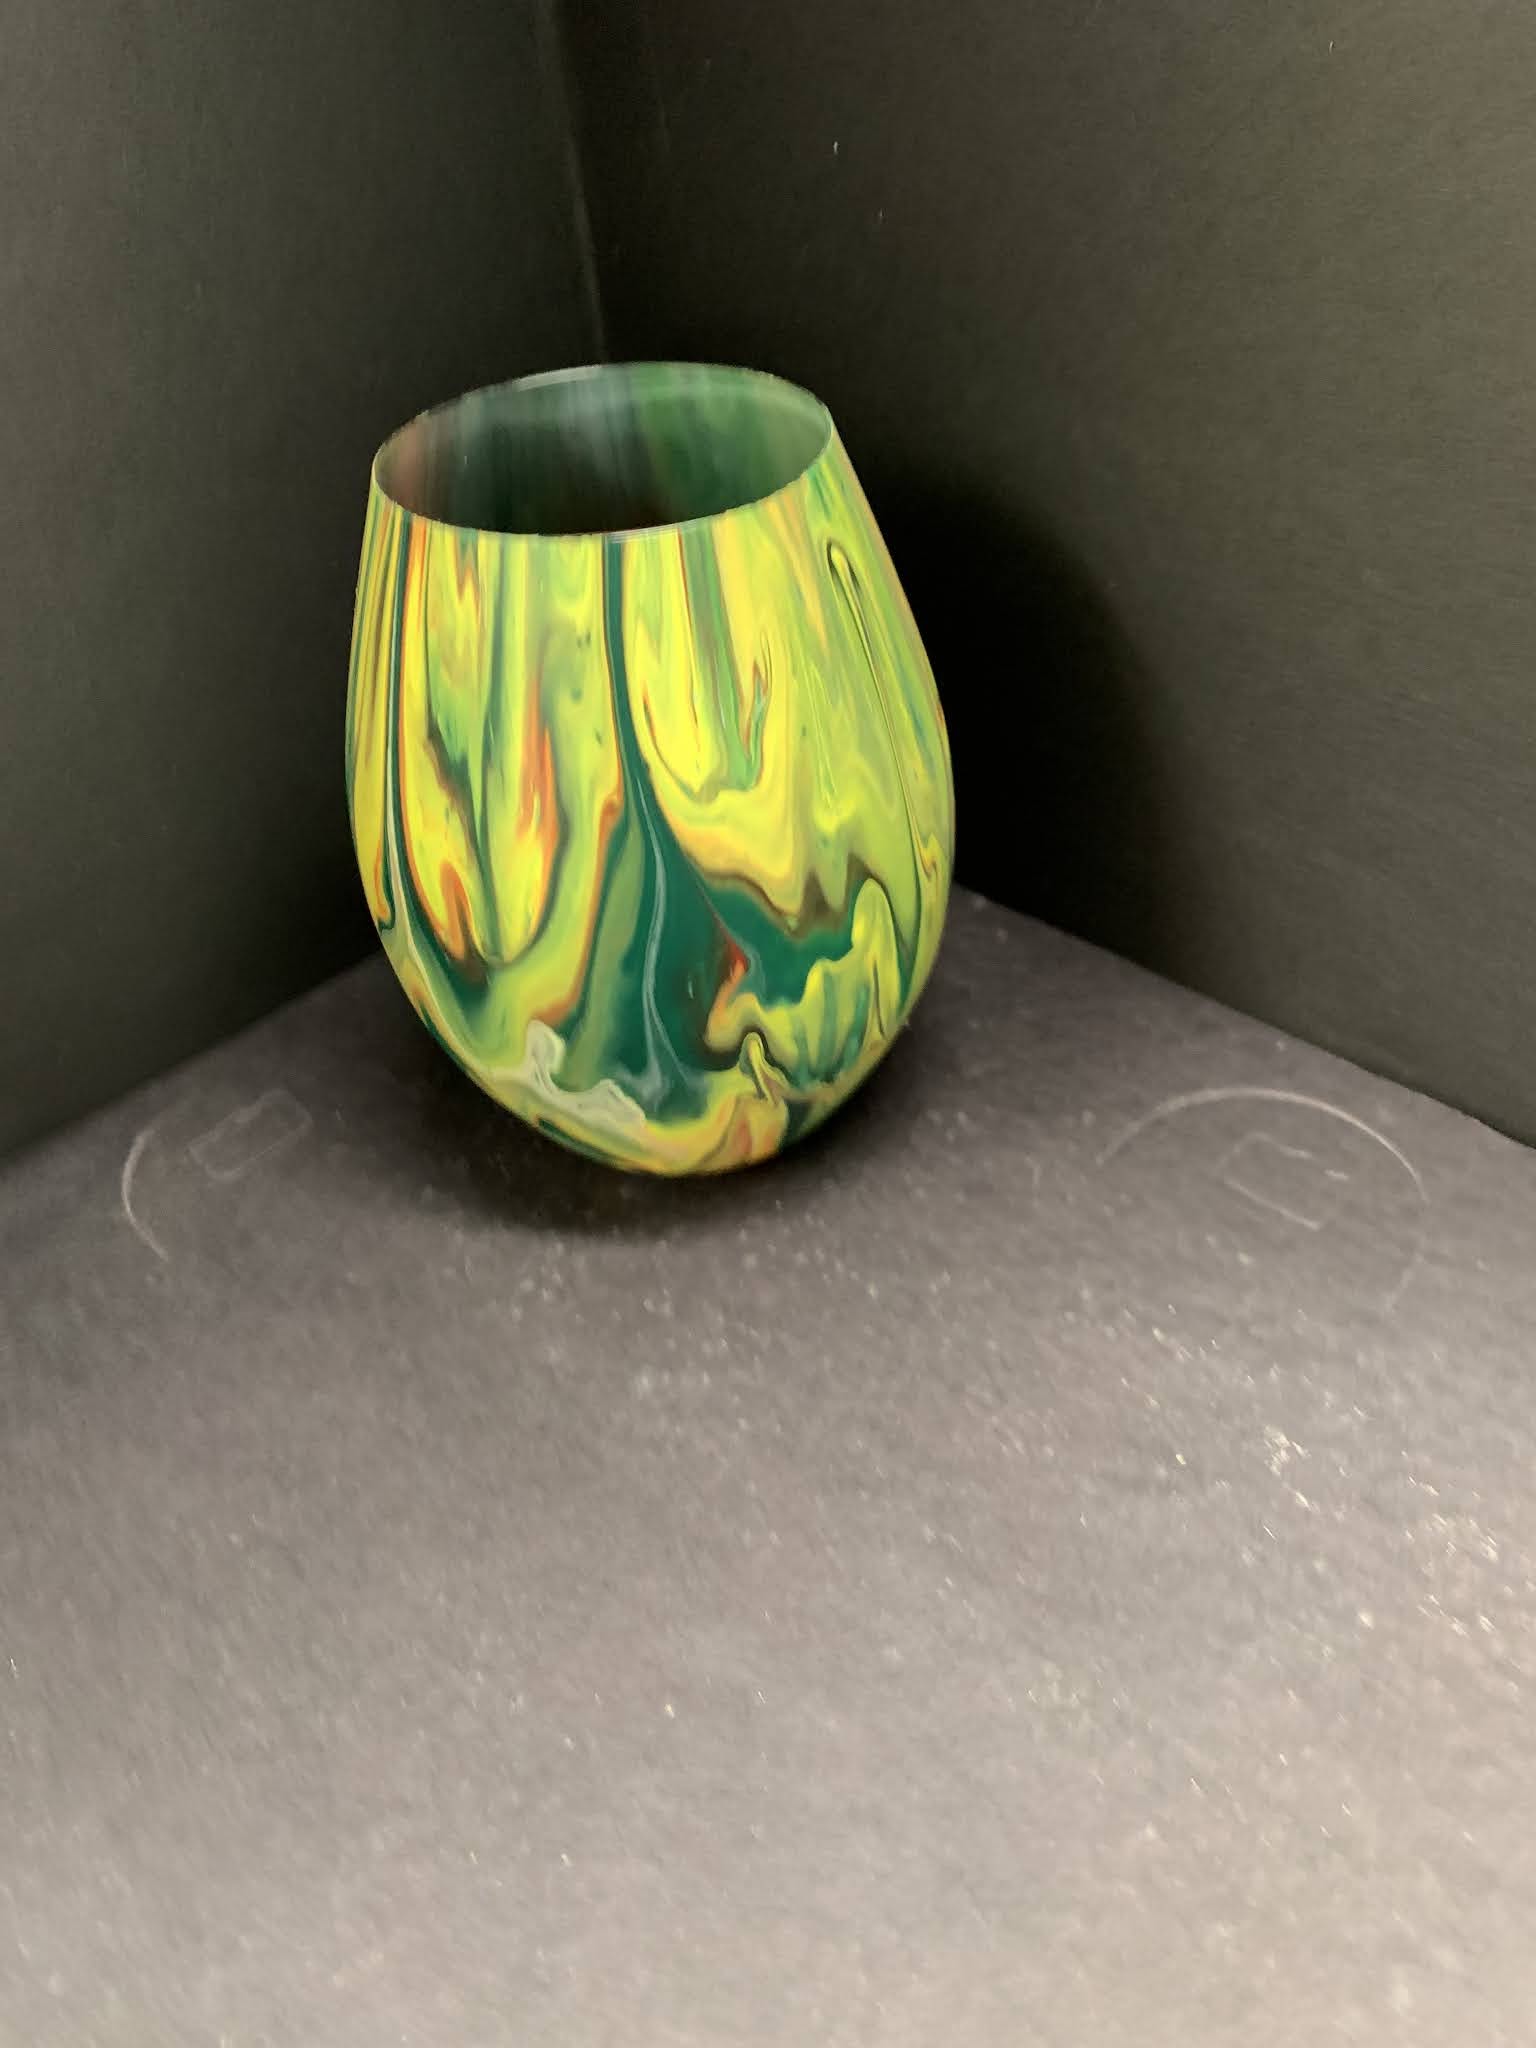
This vase did not photograph well - weird angles I think. It is actually a straight glass vase. It is resting on the top of a spray paint can that has a wooded block on it to make it higher. Notice the paint drips on the wax paper. So interesting!

Here are a couple of views before it had resin on it. Picture this as a straight glass...


Here is a photo of the above three as finished product.


This is the last one (for today - there are many more to come - I can't stop!) It is - so far - my favorite. It was one of the first ones that I did. I wish I could remember exactly how I did it. I was so excited about the whole new idea that I didn't pay attention. It is a large, pretty nondescript standard florist vase. It is upside down on a spray paint can... note the drips. 

I just started pouring, It does have some silicone in the pouring medium - wait until you see the close ups! This paint is very wet... compare with the next photo.

Notice how flat the dry paint looks.

Here are a couple of close ups. 


This is the finished vase from two different angles! 
Maybe you can understand why it continues to be my favorite.


As an aside: Last week I was in the St. Michaels Library and had an interesting conversation with Shauna Beulah - the Branch Manager. She had seen some of these vases on line and pointed out the empty display cases along the gallery wall. I may be able to put some of this artwork there so you can see it up close. I'll let you know when... 


Wednesday, September 29, 2021

Pouring over glass - part 2

 I found these photos after I posted the last pouring story. These tell the story even better. I found several empty glass vases on the shelf...all shapes and sizes. This was an unusual one so I took a lot of pictures.

Started with this...


One of the challenges is to try to find something that can hold this shape upside down. A paper cup should work since the lip of the vase won't touch the cup.


It was a little tricky to get the paint to run down the raised parts of this vase...it wanted to just go in the crevasses. I think I had to 'assist' it in a few places to get it started. I love to watch the paint run! It's very different on the sides from what it looks like near the the lip (bottom on the picture).


Here it is before the resin - the finish is a little dull. The lip looks shiny because that is the glass with the paint on the underside. It reminds me of the Mad Hatter in Alice in Wonderland.


Since I pour the paint on the bottom of the vase - the top of this picture - it has its own design. I love the 'surprise' when I turn it upside down after it is completed!

Here's another shape. This was an old wine glass that had an outdated logo on it. I scraped off the old paint. I didn't have anything to put it on, so it went on a cup. Bad move...  see what happened! Showing you all three sides - they are all so different.


I had to peel the cup off of this one!
Notice all the run off...I am fascinated by the drip patterns.


Here are two views of the glass after I got it off the cup.


And, here are these two after they have had two coats of resin.


More to come...


Saturday, September 25, 2021

Pouring over glass - more experimenting!

 The acrylic pour paintings exhibit at the Y will come down at the end of the coming week. What fun it has been seeing the comments that people have written about what they have seen in these abstract shapes and colors.  Thanks to all who have jotted down a title or two.

I am now experimenting with something else. 

Everyone has a shelf full of glass vases  - someone sent you flowers in a glass vase, the flowers are long gone and the vase is taking up space on a shelf somewhere. Try pouring paint over them! Carefully wash the vase with alcohol and find a way to turn it upside down on something stable. Very important!

When I first tried this I was eager to just do it and took some short cuts. I wanted to get started so I just turned vases upside down over a paper or styrofoam cup. I put the cup on wax paper, put the vase on the cup...and started pouring lots of different colors. It was really fun!!! However, when the paint dried, the cup stuck to the vase. That took a little work to get them apart. This is my first vase...


When the paint dried, it had a matte finish. It looks dull.

It is recommended that all these pieces be finished with resin. I have put two coats of clear resin on this. It brightens the colors and it glows!


Here's another one. I began this one with some yellow and green paints and it looked awful. I switched to some white and red colors and then added a little dark green...just because. This one was on a cup also, but did not stick as much because the vase lip did not touch the cup. The paint could drip off. 

Here it is right side up. You can see the first pour - the greenish color on the inside. That's just looking through the glass - that's why it's shiny.

Here it is with its resin finish.


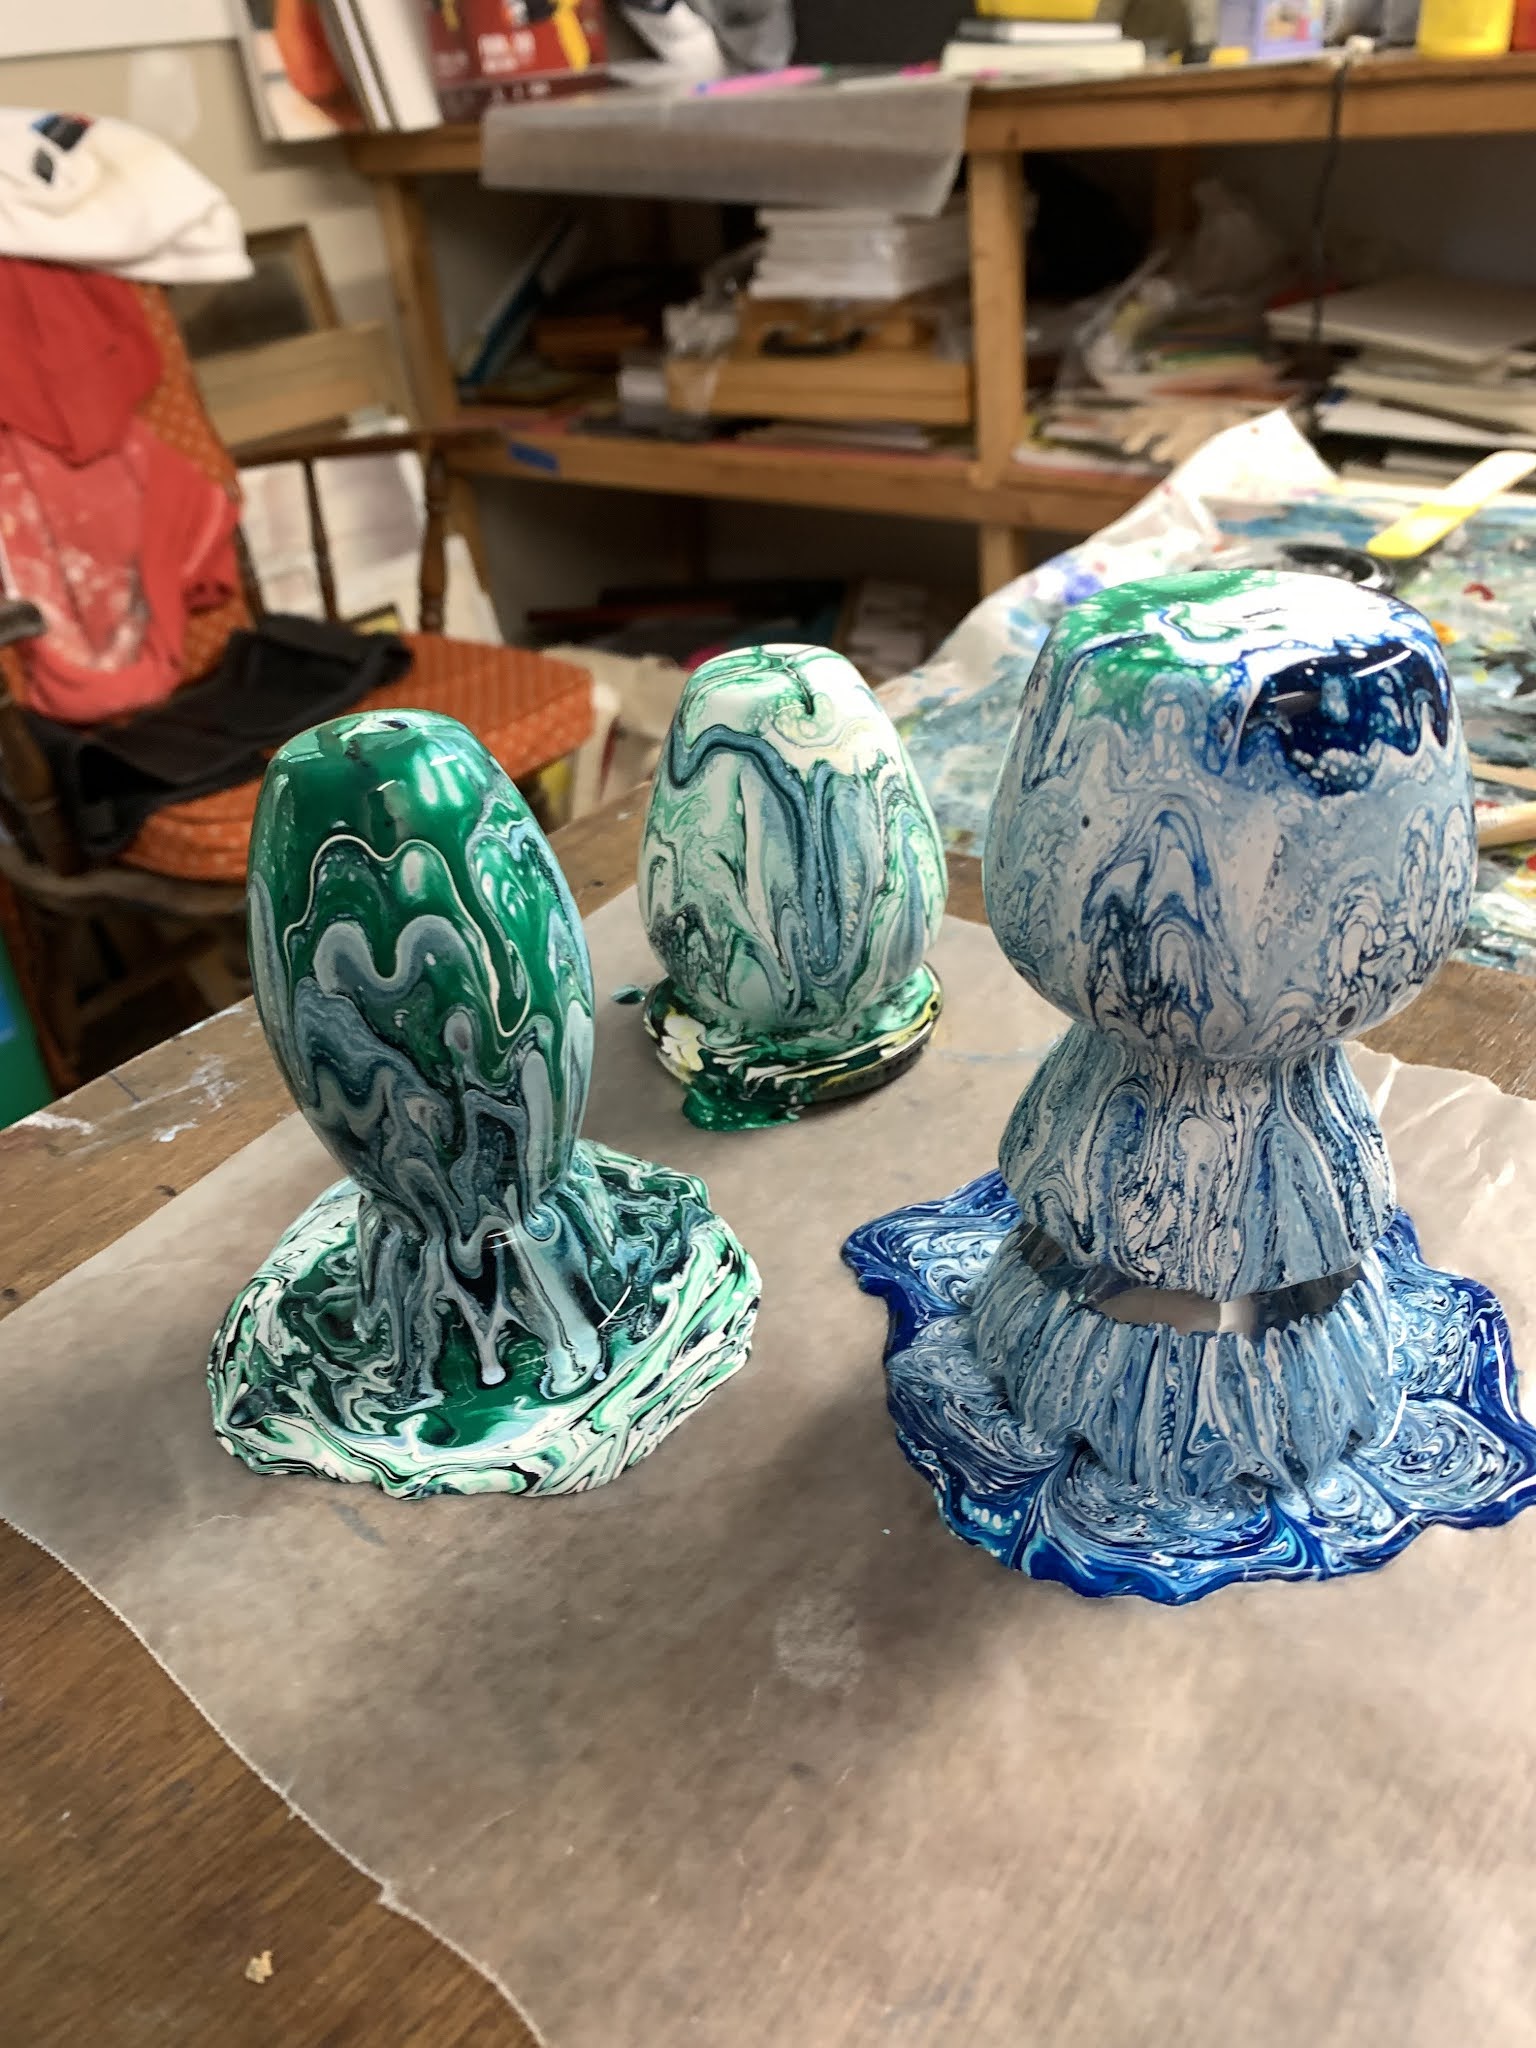
These next three are little - about 3 inches high. It was challenging trying to find something to hold them upside down...  They were fun to pour, but two of the three stuck to the surface.  I'll bet you can guess which ones!

Here are some close ups of how they turned out.


And, here they are in use! The picture is a little cluttered, 
but they looked so cute on our porch this past weekend.


I have lots more to share...some more of the process, some lessons learned and some fun successes! Check back in a week or so to see some more!